So after all of the cleaning and checking the 351 Cleveland parts at the machine shop, George figured out what could have potentially been the burning oil problem with the engine. We ended up replacing all of the valve stem seals and he had used a trick that he had learned for the crank seal. Instead of using the standard hard plastic/rubber seal he had instead used a cloth type of seal. The stock seal has a hard tab on it to prevent it from spinning with the crank. This tab would often break off over time. The seal would end up spinning with the crank and start to fail. Along with the standard rebuild kit, all new piston rings will hopefully solve the burning oil problem that the Cleveland had. George then kindly put the rotating assembly together for us including the stud kit for the new roller rockers for the motor. We reused the same cam as it was in good shape and had great specs being a mid range cam. All we needed to do was clean the Cleveland, paint it, and put it back together!

Here I'm masking up all of the areas we don't painted like the exhaust ports, around the valve covers and the intake.

After picking up a few cans of the Duplicolor Ford Blue from Canadian Tire and giving the engine a good degrease my buddy Kody came over and we painted the Cleveland right in the driveway.

All painted. Nothing like the cool Ford blue!

Here's after bolting on a few blasted and painted parts. Notice the Fram oil filter. It wasn't until after reading about these filters had we decided not to ever use one again. After reading some reviews on better filters and watching a few videos about them we decided to go with a NAPA filter that was much better quality.

Here's just a quick look at what a couple hours of good work can do to a crappy looking valve cover. This is after I sanded by hand and polished one of the aluminum boss style valve covers for the Cleveland. It looks awesome...just a little bit more and it should be perfect.

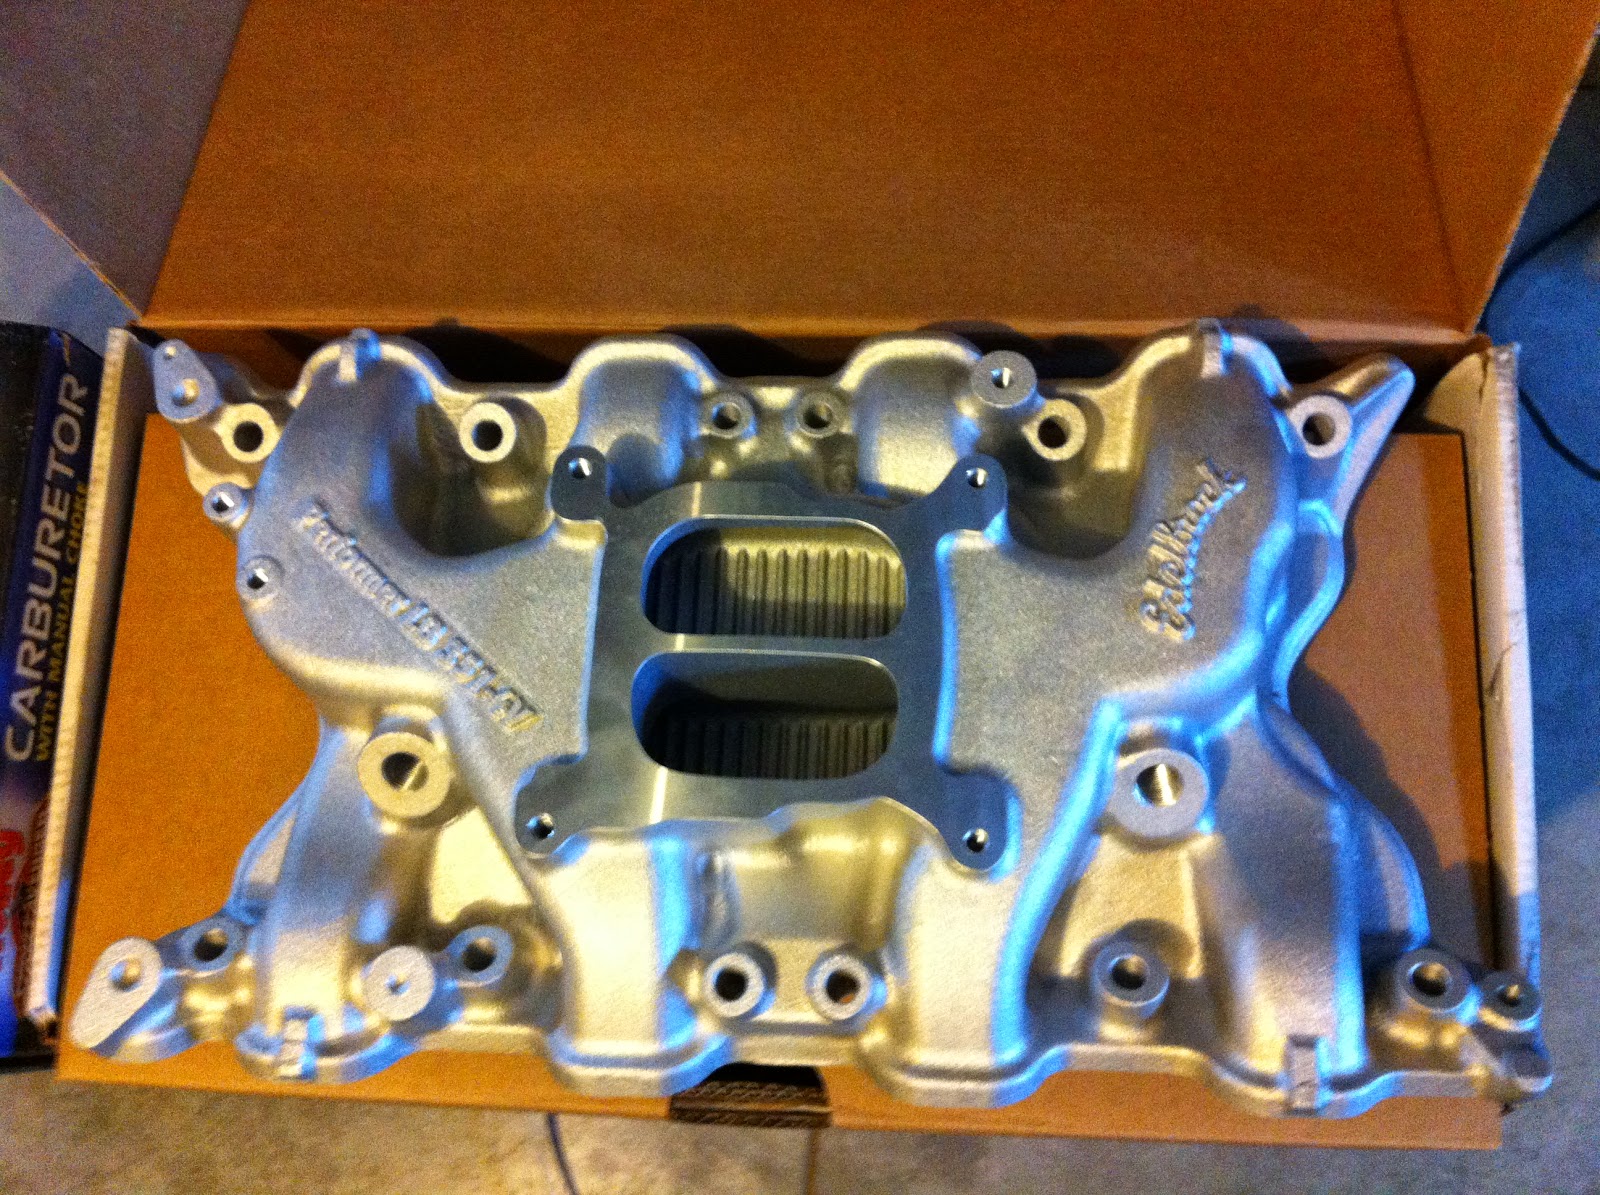
Let's take a quick look at the old Edelbrock Torker II intake compared to the new Edelbrock Performer intake. Yes...they are both aluminum but the big difference here is the single plane versus the dual plane where the carb sits. The single plane is better for higher range rpm applications while the dual plane is great for low to mid range rpm applications.


Don't you just love the look of new and cleaned up parts?

Threw the carb back on and some other final parts.

When we put the fancy yellow spark plug wires on we had to steal/swap the distributor cap off of the white boss for the plug heads to fit on the distributor cap. Looks sweet with the yellow though!


Just had to steal the air filter off of White Boss since our new one wasn't in yet. Looks ready to rumble.


After just a tad more polishing of the valve covers with a little bit more help from my buddy Kody and the end result of these valve covers really paid off. Look at the reflection of those yellow plug wires. Awesome.
Next up is the Ford Four Speed Toploader rebuild so we can put them together and fire this 351 Cleveland up!
Next up is the Ford Four Speed Toploader rebuild so we can put them together and fire this 351 Cleveland up!
No comments:
Post a Comment